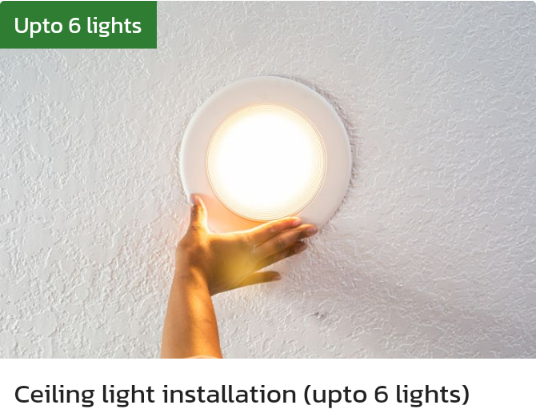
Installing a ceiling light can be done in a few simple steps:
-
Turn off the power: Before you begin, turn off the power to the circuit you'll be working on. You can do this by switching off the circuit breaker or removing the fuse.
-
Remove the old light fixture: If there's an existing light fixture, remove it by unscrewing the mounting bracket and disconnecting the wires.
-
Install the mounting bracket: Attach the new mounting bracket to the electrical box using the screws provided.
-
Connect the wires: Connect the wires from the electrical box to the wires on the light fixture, following the manufacturer's instructions. Typically, this involves connecting the black or red wire to the black or red wire, the white wire to the white wire, and the green or bare wire to the green or bare wire.
-
Attach the light fixture: Attach the light fixture to the mounting bracket using the screws provided.
-
Install the light bulbs: Install the light bulbs according to the manufacturer's instructions. Make sure not to exceed the maximum wattage listed on the fixture.
-
Turn on the power: Once you're done, turn the power back on and test the light to ensure it's working correctly.
It's important to note that electrical work can be dangerous and should only be done by a qualified professional. If you're unsure about any aspect of the process, or if you're not comfortable working with electricity, it may be best to hire a professional from Locals4u for assistance.