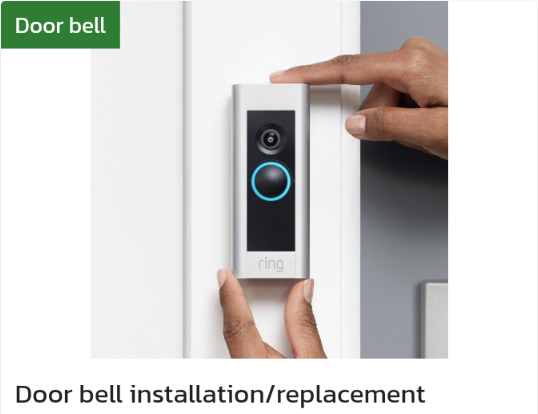
Here are the general steps to install a doorbell:
-
Choose a location: Choose the location where you want to install the doorbell. Make sure it's near the door and easily accessible.
-
Turn off the power: Turn off the power to the existing doorbell or the area where you will be installing the doorbell.
-
Mark the location: Use a pencil to mark the location where you want to install the doorbell. Use a level to make sure the mark is straight.
-
Install the doorbell button: Remove the cover of the doorbell button and attach the base plate to the wall using screws. Connect the wires from the doorbell button to the wires on the wall. If the wires are not long enough, you may need to splice in additional wires.
-
Install the chime unit: Mount the chime unit on the wall inside your home, near an electrical outlet. Connect the wires from the doorbell button to the chime unit. Plug in the chime unit to the electrical outlet.
-
Turn on the power: Turn on the power to the doorbell and test it by pressing the doorbell button.
-
Adjust the settings: Adjust the settings on the chime unit as needed, such as volume, chime sound, and any additional features.
Note: The above steps are a general guide, and the exact steps may vary depending on the specific doorbell you purchase. Be sure to read and follow the manufacturer's instructions carefully, and if you are not comfortable working with electrical wiring, it may be best to hire a professional from Locals4u for assistance.