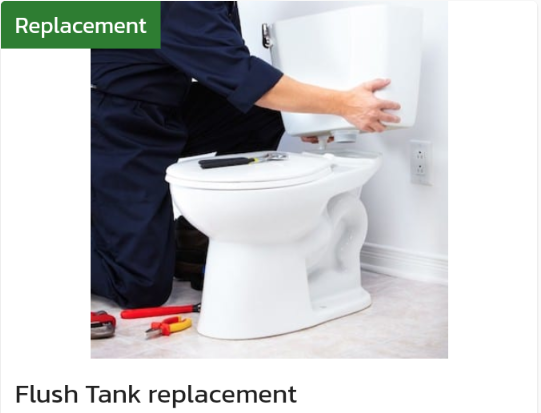
Replacing a flush tank is a bit more involved than replacing a toilet seat cover or other small bathroom fixtures. Here are the steps you can follow to replace a flush tank:
-
Turn off the water supply: Locate the shut-off valve for the water supply to the toilet and turn it off by turning the valve clockwise.
-
Remove the old flush tank: Disconnect the water supply hose from the bottom of the tank, either by unscrewing it or by using pliers to loosen the nut. Remove the nuts and washers holding the tank to the bowl, and lift the tank off the bowl carefully.
-
Install the new flush tank: Place the new flush tank onto the bowl, ensuring that the bolt holes in the tank line up with the holes in the bowl. Use new nuts and washers to attach the tank to the bowl. Tighten the nuts until the tank is secure, but be careful not to over-tighten them and crack the porcelain.
-
Reconnect the water supply hose: Connect the water supply hose to the bottom of the tank, either by hand-tightening it or by using pliers to tighten the nut. Make sure the hose is securely attached to the tank.
-
Turn on the water supply: Turn on the shut-off valve to restore the water supply to the toilet. Check for leaks around the tank and the water supply hose.
-
Test the flush: Flush the toilet a few times to ensure that the tank is functioning properly and that there are no leaks.
That's it! Replacing a flush tank can be a bit of a challenge, but by following these steps and being careful during the process, you can successfully replace your old flush tank with a new one. if you are not experienced in Replacing a flush tank, it may be best to hire a professional from Locals4u for assistance.