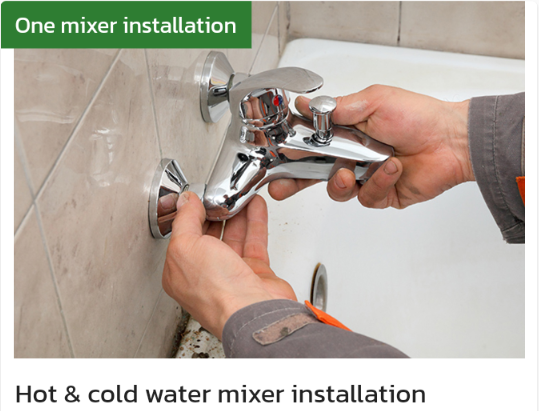
To install a hot and cold water mixer, you can follow these general steps:
- Turn off the water supply to the area where you will be installing the mixer. This may involve turning off the main water supply to your home or simply turning off the shut-off valves located near the area.
- Determine the correct location for the mixer. This will depend on the specific layout and design of your plumbing system, as well as any other fixtures or appliances in the area.
- Install any necessary plumbing connections. This may involve installing additional pipes or fittings to connect the mixer to the existing plumbing system.
- Attach the mixer to the plumbing connections. This may involve using wrenches or pliers to tighten any nuts or bolts that hold the mixer in place.
- Install any necessary mounting brackets or hardware. This may involve drilling holes in the wall or other surface where the mixer will be mounted.
- Connect the hot and cold water supply lines to the appropriate inlets on the mixer. This may involve using wrenches or pliers to tighten any nuts or fittings that secure the supply lines to the mixer.
- Test the mixer to make sure it is working properly. Turn on the water and check for any leaks or issues with the water pressure or temperature.
- Make any necessary adjustments to the mixer. This may involve adjusting the flow rate or temperature using the controls on the mixer.
It is important to choose the appropriate hot and cold water mixer for your needs and follow the manufacturer's instructions carefully when installing it. If you are unsure about any aspect of the installation process, it may be best to hire a professional from Locals4u for assistance or other professional.