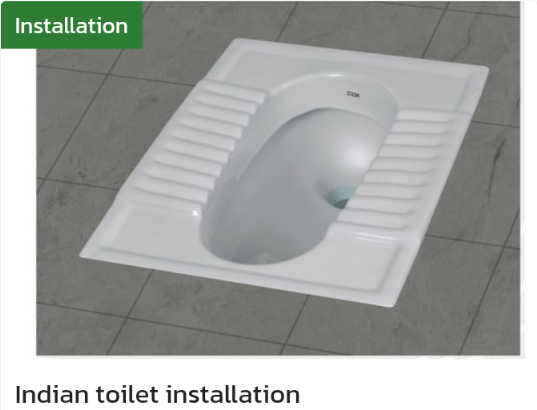
Installing an Indian toilet requires a bit of plumbing work, so it's a good idea to have a professional plumber do the installation. However, if you're comfortable with basic plumbing work, here are the steps you can follow:
-
Prepare the site: Clear the area where the toilet will be installed and make sure the plumbing and drainage connections are in place. Make sure the floor is level and free of any debris.
-
Install the flange: The flange is a fitting that connects the toilet to the drain pipe. Place the flange over the drain pipe and secure it to the floor with screws or bolts.
-
Install the toilet bowl: Place the toilet bowl over the flange, lining up the bolt holes in the bowl with the holes in the flange. Insert the bolts through the holes and tighten the nuts onto the bolts.
-
Install the cistern: The cistern is the tank that holds the water used for flushing. Place the cistern onto the toilet bowl and attach it using the bolts and nuts provided. Connect the water supply line to the cistern.
-
Install the seat: Attach the seat to the toilet bowl, following the manufacturer's instructions.
-
Test the toilet: Turn on the water supply and flush the toilet several times to ensure that it is working properly and that there are no leaks.
That's it! Installing an Indian toilet can be a bit of a challenge, but by following these steps and being careful during the process, you can successfully install your new toilet. Again, it may be best to hire a professional plumber from Locals4u to do the installation if you're not comfortable with plumbing work.