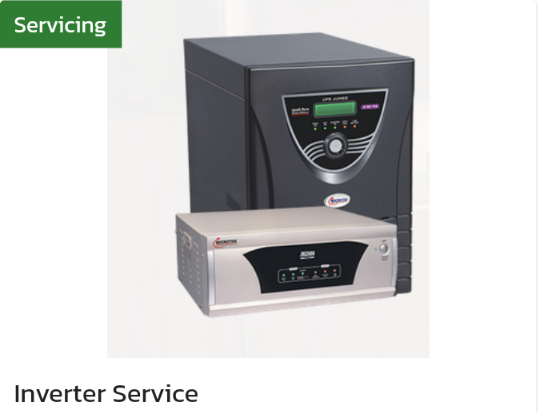
To service an inverter, you can follow these general steps:
- Turn off the inverter and unplug it from the power source to prevent electric shock or injury.
- Remove the cover of the inverter. This may involve removing screws or other fasteners.
- Check for any visible signs of damage or wear, such as burned components or loose connections.
- Clean the internal components of the inverter with a soft brush or compressed air to remove any dust or debris.
- Check the battery bank and cables for any signs of damage or wear. Make sure the connections are tight and secure.
- Check the AC load and cables for any signs of damage or wear. Make sure the load is within the inverter's power rating.
- Use a multimeter to check the voltage and current of the battery bank and AC load to ensure they are within the inverter's specifications.
- Test the inverter to make sure it is working correctly. This may involve connecting a load to the inverter's output and checking the output voltage and frequency.
- Replace any damaged or worn components as necessary. This may involve soldering or replacing circuit boards or other components.
- Reassemble the inverter and test it again to make sure it is working correctly.
If you are not familiar with electronics or are unsure about any aspect of servicing an inverter, it may be best to hire a professional from Locals4u for assistance or contact the manufacturer's customer support for further assistance. It is also important to read the manufacturer's instructions carefully and follow all safety precautions when servicing an inverter.
