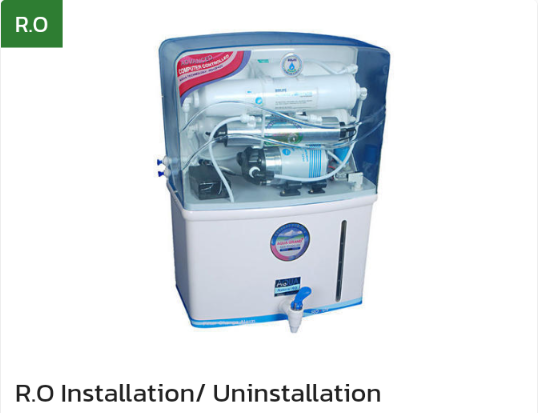
Installation of Reverse Osmosis (RO) System:
Installing a Reverse Osmosis (RO) system is not a complicated process, but it does require some basic plumbing skills. Here are the steps to install an RO system:
-
Choose a location: Choose a location for the RO system that is close to a water supply and a power outlet.
-
Install the faucet: Install the faucet that comes with the RO system on the sink. Drill a hole in the sink for the faucet if required.
-
Install the drain saddle: Install the drain saddle that comes with the RO system on the sink drain.
-
Connect the tubing: Connect the tubing from the RO system to the faucet and the drain saddle.
-
Install the RO membrane: Install the RO membrane in the housing that comes with the system.
-
Install the filters: Install the pre-filters in their respective housings. These filters help to remove sediment and chlorine from the water before it reaches the RO membrane.
-
Connect the water supply: Connect the water supply to the RO system.
-
Turn on the water and check for leaks: Turn on the water and check for any leaks. Tighten the connections if required.
Uninstallation of Reverse Osmosis (RO) System:
Uninstalling a Reverse Osmosis (RO) system is a simple process that can be done in a few steps:
-
Turn off the water supply: Turn off the water supply to the RO system.
-
Disconnect the tubing: Disconnect the tubing from the faucet and the drain saddle.
-
Remove the filters: Remove the pre-filters and the RO membrane from their respective housings.
-
Remove the drain saddle and faucet: Remove the drain saddle and faucet from the sink.
-
Remove the RO system: Remove the RO system from its location.
-
Clean the sink: Clean the sink and remove any residue or adhesive left behind by the RO system.
It is recommended to follow the manufacturer's instructions when installing or uninstalling an RO system. it may be best to hire a professional from Locals4u for assistance.
