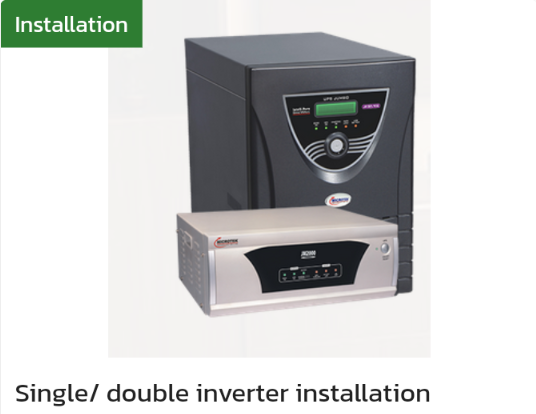
Installing a single or double inverter involves a similar process. Here are the general steps:
- Choose the location for the inverter. Make sure it is well-ventilated and has enough space to operate.
- Mount the inverter on a stable and level surface, such as a wall or a mounting bracket. Use appropriate screws and anchors to secure the inverter to the surface.
- Connect the inverter to the battery bank. Connect the positive cable from the battery bank to the positive terminal of the inverter and the negative cable to the negative terminal.
- Connect the inverter to the AC load. Connect the AC load to the inverter's output terminals using appropriate cables. Make sure the load is within the inverter's power rating.
- Connect the inverter to the AC input. If the inverter has a built-in AC charger, connect the AC input to the inverter's input terminals using an appropriate cable.
- Turn on the inverter and follow the manufacturer's instructions to complete the setup process. This may involve configuring the inverter's settings, such as the battery type, charging current, and output frequency.
If you are installing a double inverter, the process is similar, except that you will need to connect both inverters to the battery bank and AC load. The two inverters should be connected in parallel to increase the power output. It is important to ensure that the cables and connectors used are rated for the combined power output of the inverters.
It is important to read the manufacturer's instructions carefully and follow all safety precautions when installing an inverter. If you are unsure about any aspect of the installation process, it may be best to hire a professional from Locals4u for assistance.