Replacing a socket can be a relatively straightforward task, but it does require some basic electrical knowledge and the right tools. Here are some general steps to replace a socket:
-
Turn off power: Before starting any electrical work, turn off the power supply to the socket you will be replacing by switching off the corresponding circuit breaker.
-
Remove the old socket: Use a screwdriver to remove the screws holding the old socket in place. Pull the socket gently out of the wall, being careful not to touch the wires connected to it.
-
Identify the wires: Take note of the wiring on the old socket. The wires are usually color-coded, with black or red for the hot wire, white or gray for the neutral wire, and green or bare for the ground wire. If you're not sure which wires are which, you can use a voltage tester to check.
-
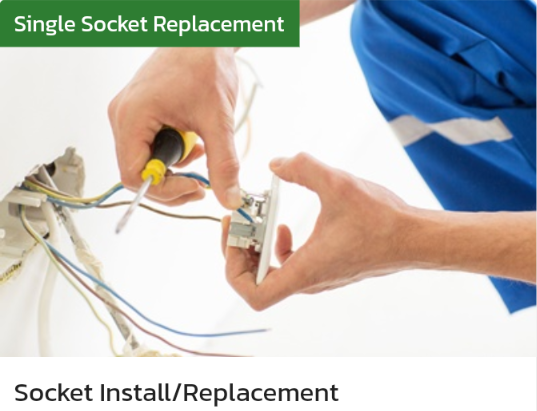
Connect the new socket: Connect the wires to the new socket by loosening the screws on the terminals, wrapping the wire around the screw, and then tightening the screw to secure the wire. Make sure you connect the wires to the correct terminals.
-
Attach the new socket: Once the wires are connected, push the new socket back into the wall and secure it with screws.
-
Test the socket: Turn the power back on and test the socket with a voltage tester or by plugging in a device to make sure it's working correctly.
It's important to note that electrical work can be dangerous if you're not familiar with it. If you're unsure about any aspect of replacing a socket, it may be best to hire a professional from Locals4u for assistance. Additionally, always ensure that you follow proper safety precautions and turn off the power supply before starting any electrical work.