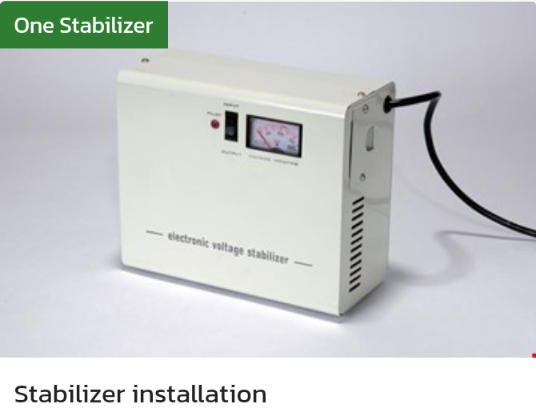
To install a stabilizer, you can follow these general steps:
- Choose the location for the stabilizer. Make sure it is well-ventilated and has enough space to operate.
- Mount the stabilizer on a stable and level surface, such as a wall or a mounting bracket. Use appropriate screws and anchors to secure the stabilizer to the surface.
- Turn off the power supply to the equipment or appliances that will be connected to the stabilizer.
- Connect the input of the stabilizer to the AC mains using an appropriate cable. Make sure the voltage and frequency of the mains supply are compatible with the stabilizer's specifications.
- Connect the output of the stabilizer to the equipment or appliances using appropriate cables. Make sure the load is within the stabilizer's power rating.
- Turn on the power supply to the equipment or appliances and the stabilizer.
- Follow the manufacturer's instructions to calibrate the stabilizer. This may involve adjusting the output voltage or setting the sensitivity level.
- Test the stabilizer to make sure it is working correctly. This may involve checking the output voltage and frequency under different load conditions.
It is important to read the manufacturer's instructions carefully and follow all safety precautions when installing a stabilizer. If you are unsure about any aspect of the installation process, it may be best to hire a professional from Locals4u for assistance. It is also important to periodically check and maintain the stabilizer to ensure it is working correctly and to replace it if it is damaged or worn.