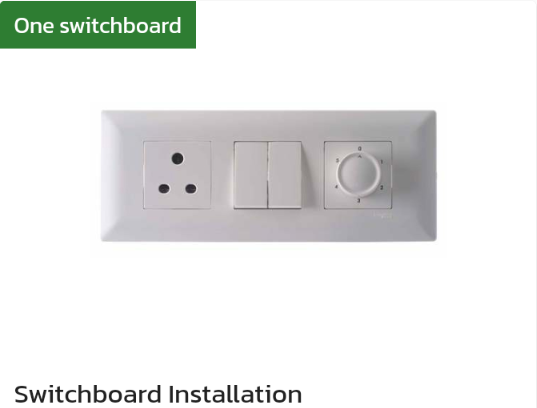
Switchboard installation can vary depending on the specific type of switchboard you are installing, but here are some general steps:
-
Choose the location: Select a suitable location for the switchboard that is easily accessible and has enough space to accommodate the switchboard.
-
Gather materials: Make sure you have all the necessary materials and tools for installation. This may include the switchboard, mounting brackets, screws, cables, wire strippers, and a screwdriver.
-
Turn off power: Turn off the power supply to the area where you will be installing the switchboard. This is essential to ensure your safety during installation.
-
Install the mounting brackets: Depending on the type of switchboard, you may need to install mounting brackets first. Follow the manufacturer's instructions to attach the brackets securely to the wall.
-
Connect the wires: Connect the incoming power wires to the switchboard's main circuit breaker. Follow the manufacturer's instructions carefully to ensure that the wires are connected properly.
-
Connect other wires: Connect the other wires to their respective terminals in the switchboard. These wires may include branch circuit wires, neutral wires, and grounding wires.
-
Test the switchboard: Once all the wires are connected, turn on the power supply and test the switchboard to ensure that everything is working correctly. If there are any issues, turn off the power supply and troubleshoot the problem.
-
Close the switchboard: After testing is complete, close the switchboard's cover and secure it with screws.
-
Label the switchboard: Finally, label the switchboard so that it is easy to identify and understand which circuits are controlled by which breakers.
It's important to note that switchboard installation can be dangerous if you are not familiar with electrical work. If you are unsure about any aspect of the installation, it may be best to hire a professional from Locals4u for assistance.