The repair of a switchboard may vary depending on the specific type of switchboard and the issue that needs to be addressed. However, here are some general steps that can guide you through the repair process:
-
Identify the issue: Before starting any repair work, you need to identify the issue with the switchboard. This may include problems such as a circuit breaker not tripping, a switch not working, or a burnt-out component.
-
Turn off power: Turn off the power supply to the switchboard to prevent any electrical accidents while repairing the switchboard.
-
Inspect the switchboard: Inspect the switchboard for any visible signs of damage such as burns, loose wires, or broken components. Make a note of any issues that you find.
-
Replace damaged components: If you find any damaged components, such as a burnt-out circuit breaker or a broken switch, replace them with new ones. Follow the manufacturer's instructions for proper replacement.
-
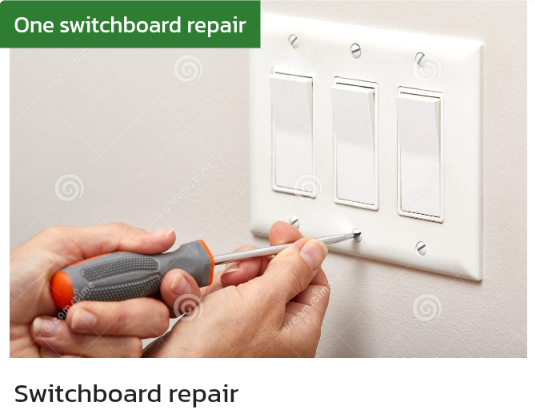
Tighten loose connections: Check for any loose connections and tighten them using a screwdriver or pliers.
-
Repair damaged wires: If any wires are damaged or broken, cut them and strip the insulation off the ends. Then, connect them back to their respective terminals.
-
Test the switchboard: After repairing the switchboard, turn on the power supply and test the switchboard to ensure that everything is working correctly.
It's important to note that switchboard repair can be dangerous if you are not familiar with electrical work. If you are unsure about any aspect of the repair,it may be best to hire a professional from Locals4u for assistance. Additionally, always ensure that you follow the manufacturer's instructions and take all necessary safety precautions to prevent accidents.