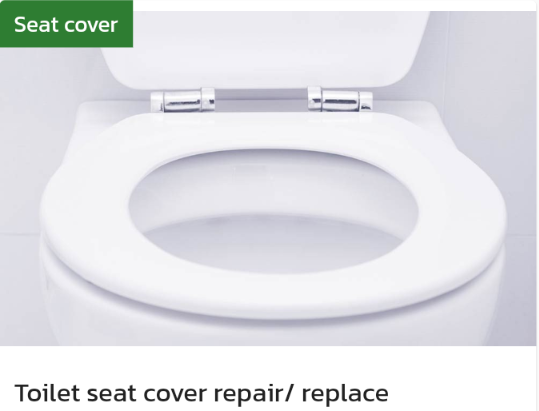
Installing or replacing a toilet seat cover is a relatively simple task that can be done in a few easy steps:
-
Gather your supplies: You'll need a new toilet seat cover and the necessary tools for the job, such as a screwdriver and pliers.
-
Remove the old toilet seat cover: To remove the old toilet seat cover, locate the two bolts at the back of the toilet seat that attach it to the bowl. Using a screwdriver, unscrew the bolts. You may need to hold the nuts in place with pliers while you unscrew the bolts.
-
Install the new toilet seat cover: Position the new toilet seat cover over the bowl, lining up the bolt holes. Insert the bolts through the holes in the cover and through the holes in the bowl. Screw the nuts onto the bolts, tightening them by hand.
-
Tighten the bolts: Once the nuts are tightened by hand, use a screwdriver and pliers to tighten them further. Be careful not to over-tighten the bolts, as this can cause damage to the toilet bowl.
-
Test the new toilet seat cover: Sit on the toilet seat and test it to ensure it is secure and comfortable.
That's it! Installing or replacing a toilet seat cover is a quick and easy DIY task that can make a big difference in the appearance and functionality of your bathroom. if you are not experienced in Toilet seat cover repair or replace, it may be best to hire a professional from Locals4u for assistance.
