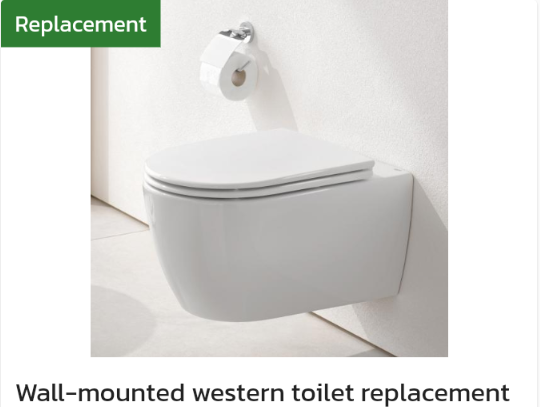
Replacing a wall-mounted western toilet involves a few more steps than replacing a floor-mounted toilet. Here's a general guide to help you replace a wall-mounted western toilet:
-
Turn off the water supply: Locate the water shut-off valve and turn it off. Flush the toilet to empty the tank and bowl.
-
Disconnect the water supply: Remove the nuts and washers that secure the water supply line to the inlet valve. Carefully pull the water supply line away from the inlet valve.
-
Remove the mounting hardware: Locate the bolts that secure the toilet to the wall and remove the nuts and washers. You may need to use a wrench or pliers to remove the nuts.
-
Remove the toilet: Carefully lift the toilet off the mounting bolts and set it aside. Use a putty knife to scrape off any old caulk or adhesive from the wall and the mounting flange.
-
Install the new mounting flange: Install the new mounting flange on the wall using the screws and anchors provided with the flange.
-
Install the new toilet: Carefully position the new toilet onto the mounting bolts, making sure the bolts protrude through the mounting holes in the base of the toilet. Secure the toilet to the wall by hand-tightening the nuts onto the mounting bolts.
-
Reconnect the water supply: Reconnect the water supply line to the inlet valve, and hand-tighten the nuts and washers.
-
Test the toilet: Turn on the water supply valve and fill the tank. Flush the toilet a few times to make sure it's working correctly. Check for any leaks around the base of the toilet or the water supply line.
That's it! By following these steps, you should be able to replace a wall-mounted western toilet. If you're not comfortable with plumbing work, it may be best to hire a professional plumber from Locals4u to help with the installation.
