Installing a water meter involves a few steps. Here's a general guide to help you install a water meter:
-
Locate the water supply line: Locate the main water supply line that enters your property. You will need to install the water meter on this line.
-
Turn off the water supply: Turn off the water supply at the main valve to prevent water from flowing through the pipes.
-
Cut the pipe: Use a pipe cutter to cut the water supply line at the location where you want to install the water meter. Make sure that the cut is clean and straight.
-
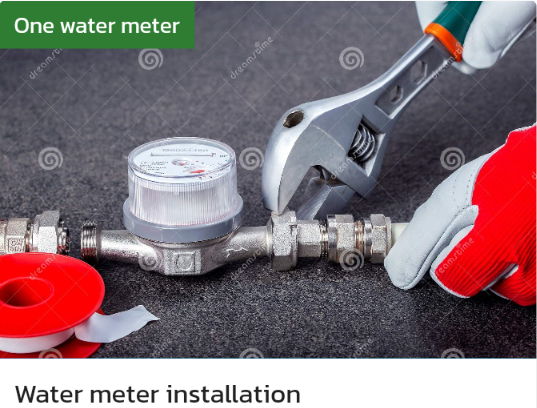
Install the meter: Install the water meter in the cut section of the water supply line according to the manufacturer's instructions. Make sure that the meter is installed in the correct orientation.
-
Connect the water supply line: Connect the water supply line to the inlet side of the water meter. Use appropriate fittings and connectors to make sure that the connection is secure.
-
Connect the outlet line: Connect the outlet line from the water meter to the rest of the water supply line. Use appropriate fittings and connectors to make sure that the connection is secure.
-
Turn on the water supply: Turn on the water supply at the main valve to check for any leaks in the connections.
-
Register the meter: Register the water meter with your local water utility company. They will need to know the serial number and other information about the meter.
That's it! By following these steps, you should be able to install a water meter. If you're not comfortable with plumbing work, it may be best to hire a professional plumber from Locals4u to help with the installation.