To repair a water mixer, you can follow these general steps:
- Turn off the water supply to the mixer. This may involve turning off the main water supply to your home or simply turning off the shut-off valve located near the mixer.
- Remove any decorative or protective covers from the mixer. This may involve using a screwdriver or pliers to remove screws or clips.
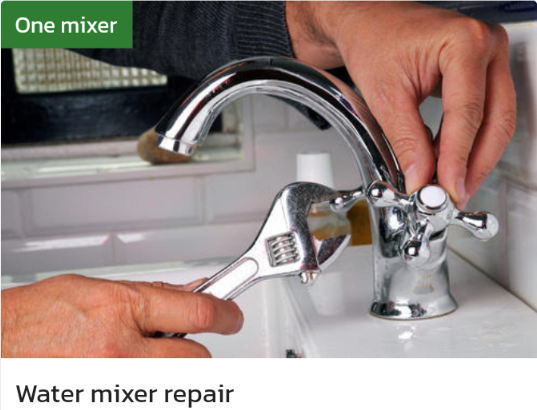
- Use a wrench or pliers to remove the mixer handle. This will give you access to the cartridge or valve inside the mixer.
- Inspect the cartridge or valve for damage or wear. This may involve taking the cartridge or valve apart and examining each component for signs of wear, corrosion, or damage.
- Replace any damaged or worn components. This may involve purchasing replacement parts from a hardware or plumbing supply store and following the manufacturer's instructions for installing them.
- Reassemble the mixer. This may involve reversing the steps you took to disassemble the mixer and using a wrench or pliers to tighten any screws or clips.
- Test the mixer to make sure it is working properly. Turn on the water and check for any leaks or issues with the water pressure or temperature.
It is important to take appropriate safety precautions when attempting to repair a water mixer, such as wearing gloves and eye protection. If you are unsure about any aspect of the process, it is recommended to seek assistance from a qualified plumber or other professional. Additionally, if the damage or wear to the mixer is severe, it may be best to hire a professional from Locals4u to fully repair or replace the mixer.