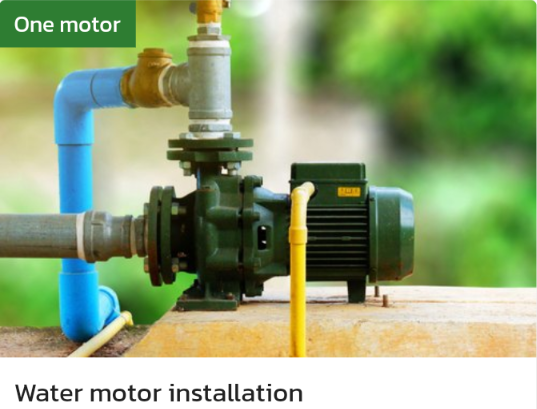
Installing a water motor involves a few steps. Here's a general guide to help you install a water motor:
-
Choose the location: Select a location that is dry and well-ventilated. The motor should be placed on a flat and stable surface that can support the weight of the motor.
-
Assemble the pump and motor: Assemble the pump and motor according to the manufacturer's instructions. Make sure that all the connections are tight and secure.
-
Install the check valve: Install a check valve in the water supply line to prevent backflow. The check valve should be installed between the water source and the pump.
-
Install the pressure switch: Install a pressure switch that will turn the motor on and off based on the water pressure. The pressure switch should be installed near the water tank or in a location where it can easily sense the water pressure.
-
Install the pressure gauge: Install a pressure gauge near the pressure switch so that you can monitor the water pressure.
-
Connect the water supply: Connect the water supply line to the inlet port of the pump. Make sure that the connection is tight and secure.
-
Connect the discharge line: Connect the discharge line to the outlet port of the pump. Make sure that the connection is tight and secure.
-
Connect the electrical wiring: Connect the electrical wiring according to the manufacturer's instructions. The motor should be connected to a power supply that is appropriate for the motor's voltage and amperage requirements.
-
Test the motor: Turn on the power supply and check the motor's operation. Check for any leaks in the water supply or discharge lines.
That's it! By following these steps, you should be able to install a water motor. If you're not comfortable with electrical or plumbing work, it may be best to hire a professional plumber or electrician from Locals4u to help with the installation.