Installing a window AC involves several steps, including selecting the right location, assembling the unit, and securing it in place. Here are the general steps for installing a window AC:
-
Choose the right location: Look for a window with a nearby electrical outlet that can support the AC's power needs. You should also consider factors like the size of the room, the amount of sunlight it receives, and the orientation of the window.
-
Assemble the unit: Follow the manufacturer's instructions to put together the AC unit. This may involve attaching the brackets and support arms, installing the filter and front cover, and attaching the power cord.
-
Prepare the window: Remove any obstacles from the window sill, and make sure the window is clean and free of debris. You may also need to adjust the window size or install a window kit to fit the AC unit.
-
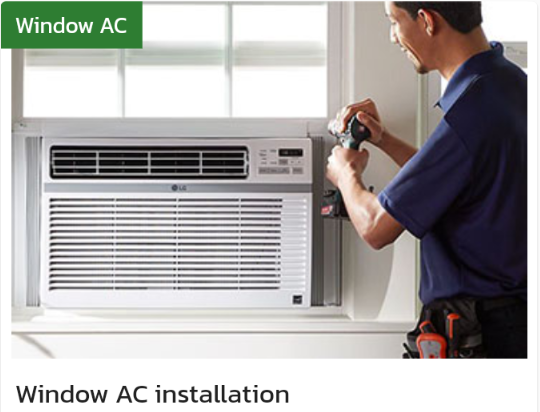
Install the AC: Lift the AC unit into the window, making sure it rests on the brackets and support arms. Extend the side panels to fill any gaps between the AC unit and the window frame. Use screws or other fasteners to secure the unit in place.
-
Connect the power: Plug in the AC unit to the nearby electrical outlet, and turn it on to test that it is functioning properly.
-
Insulate the window: Use weatherstripping or foam insulation to seal any gaps around the window, which will prevent cool air from escaping and hot air from entering.
-
Enjoy your cool space: Once the unit is properly installed and insulated, you can adjust the temperature settings to your desired level and enjoy your cool, comfortable space.
It is important to read and follow the manufacturer's instructions for your specific AC unit to ensure proper installation and avoid any safety hazards. If you are unsure about any steps in the installation process, it may be best to hire a professional from Locals4u for assistance.