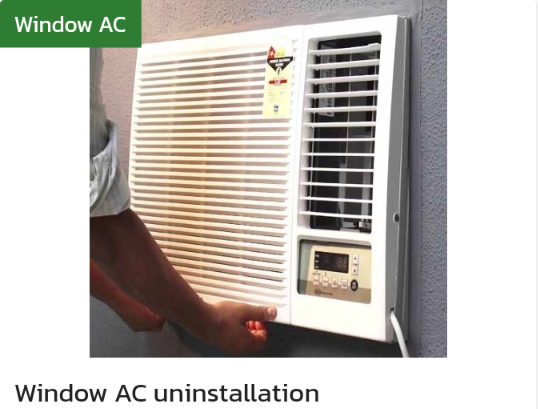
Uninstalling a window AC involves several steps, including turning off the power supply, removing the unit from the window, and disconnecting any electrical or drainage connections. Here are the general steps for uninstalling a window AC:
-
Turn off the power supply: Make sure the power supply to the window AC is turned off at the main circuit breaker or disconnect switch. This will prevent any electrical shock or damage to the system during the uninstallation process.
-
Remove the front cover: Remove the front cover of the window AC unit by releasing any clips or screws holding it in place. This will give you access to the mounting bracket.
-
Remove the mounting bracket: Unscrew the mounting bracket from the window sill or frame, and remove any screws or fasteners holding the AC unit in place. Carefully lift the unit out of the window and onto a flat surface.
-
Disconnect the electrical connections: Disconnect any electrical wires or connections from the AC unit, following the manufacturer's instructions and any local codes or regulations. Cover any exposed wires with electrical tape or wire nuts.
-
Disconnect the drainage connections: If your window AC unit has a drainage hose, disconnect it from the back of the unit and drain any remaining water from the hose.
-
Clean the AC unit: Use a soft cloth to wipe down the AC unit, removing any dirt or debris. Clean or replace the air filter as needed.
-
Store the AC unit: If you plan to store the AC unit for an extended period, wrap it in a plastic bag or cover it with a tarp to protect it from dust and moisture. Store the unit in a dry, cool place.
It is important to read and follow the manufacturer's instructions for your specific window AC unit to ensure proper uninstallation and avoid any safety hazards. If you are unsure about any steps in the uninstallation process, it may be best to hire a professional from Locals4u for assistance.